Monday, November 25, 2013

Holly Jolly Burlap Wreath!

DIY Burlap Wreath Tutorial


I fell in love with these wreaths this year as I was Pinterest-ing away a Sunday afternoon watching football.  I found a few tutorials that were helpful, but I decided to make my own!  Let's get started!

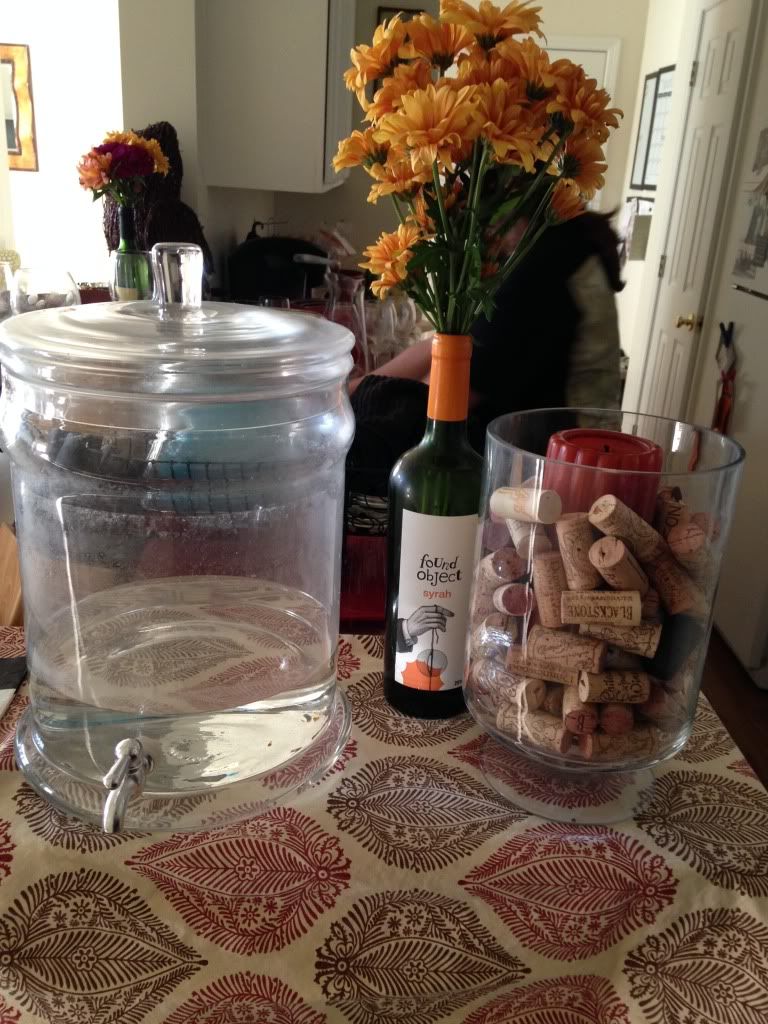
I purchased all of my supplies from Hobby Lobby.  The burlap was 50% off and the Christmas decor was ALSO 50% off.  Here's what I picked up:


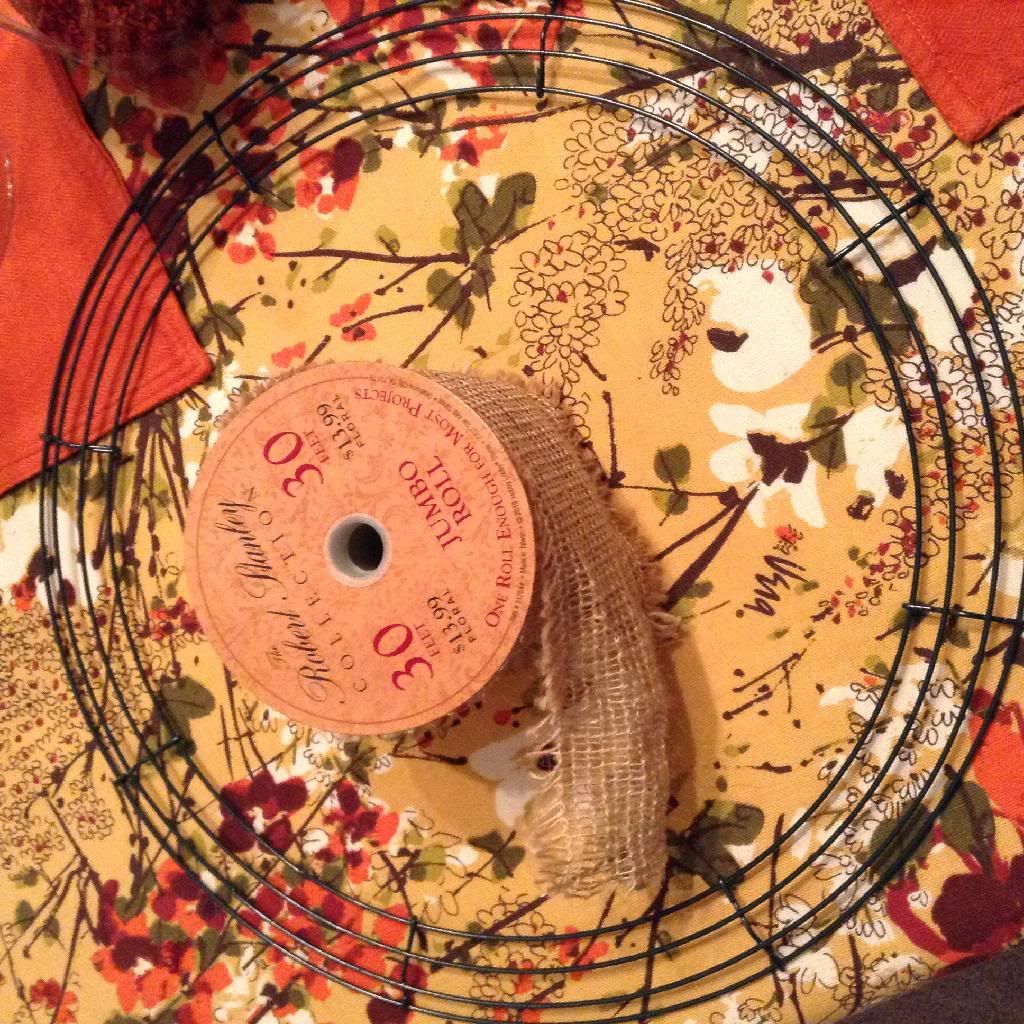
  • Wire wreath form ($1.99)
  • 2 x 30ft wire trimmed burlap (13.99 each...I used my 40% off coupon!) 
    • I liked using the wire trimmed burlap because the loops held together nicely.  I haven't tried this yet with regular burlap, but it is cheaper if you want to give it a try!
  • Box of ornaments ($2.99)
  • Red bow (9.99)
  • Ornaments
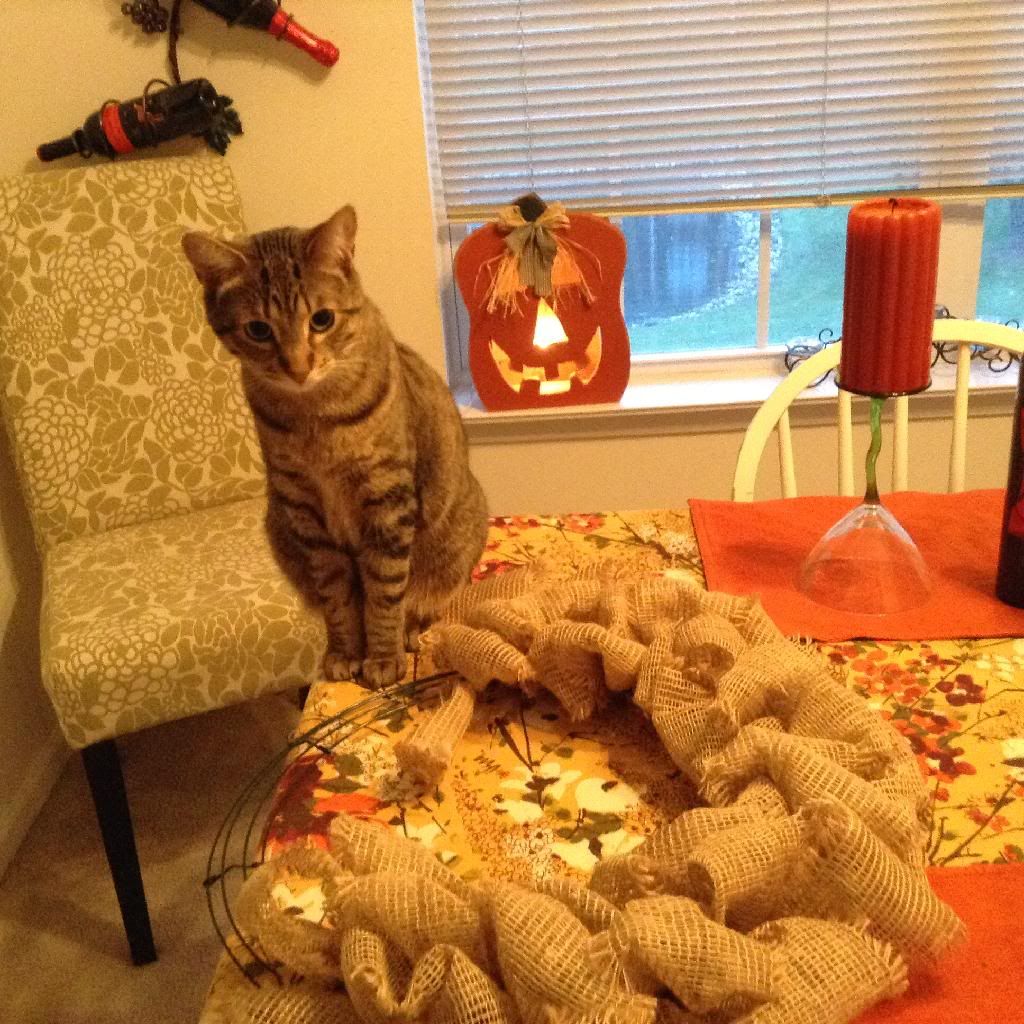
  • The company of my sweet kitty Odysseus :-)
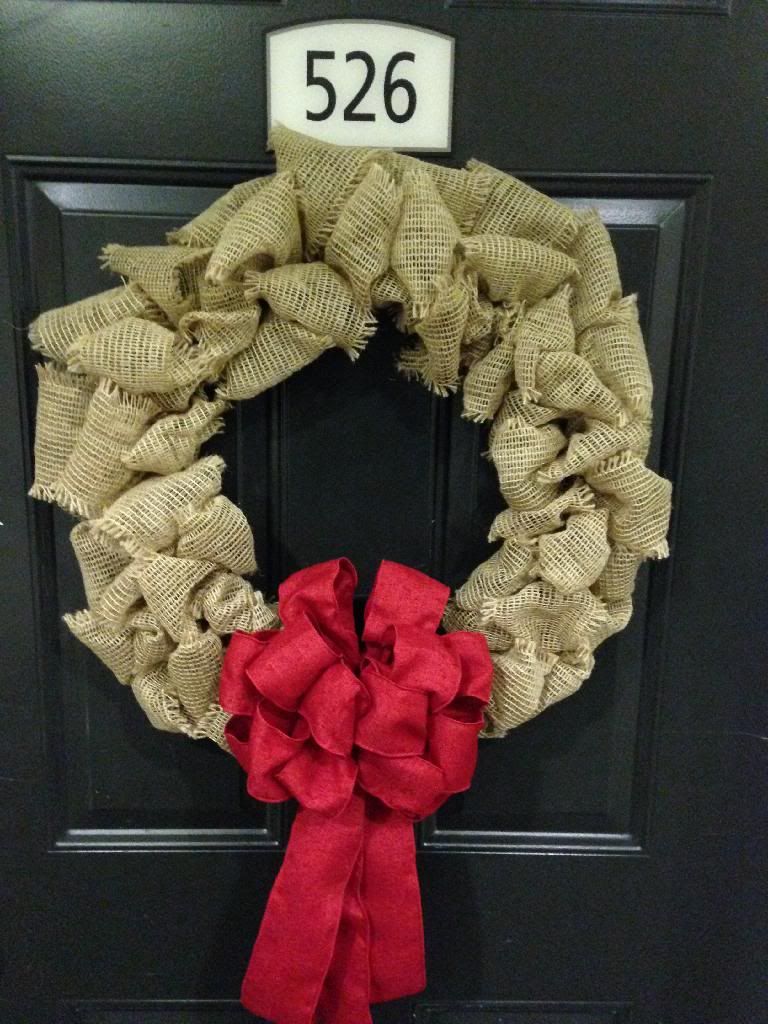
So my original plan was to use the ornaments in the wreath, but as you can see, I really liked the simplicity of the burlap and red ribbon.  Let's get started!

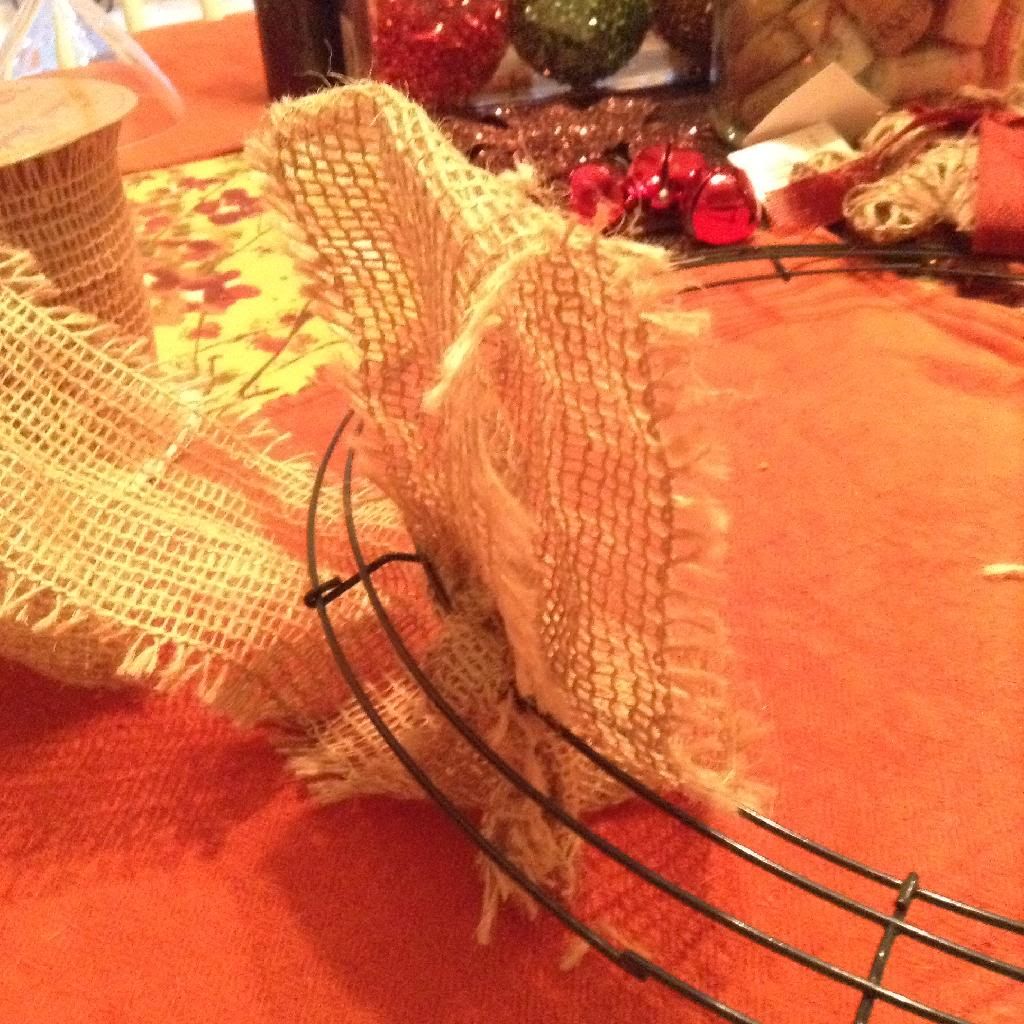
1.  Tie a knot with the end of the burlap to the under side of the wreath form in any spot.


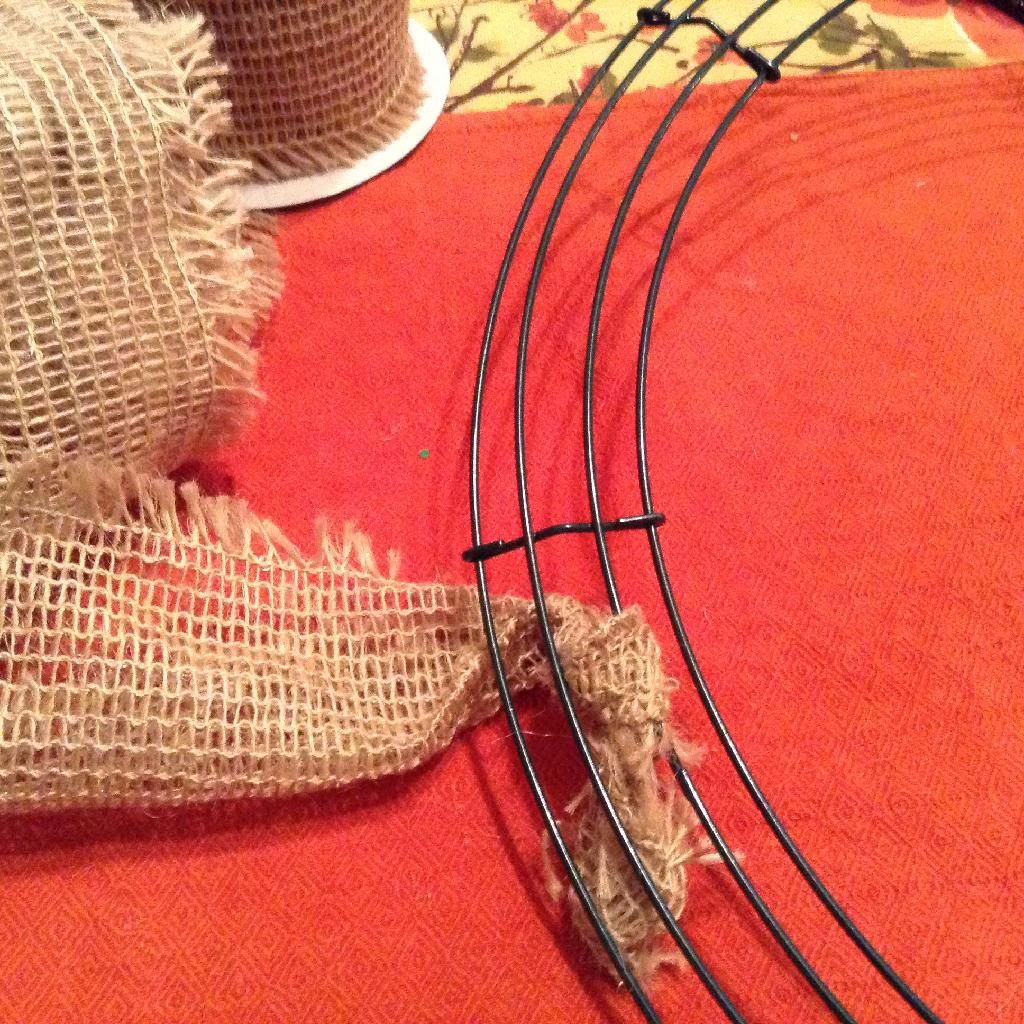
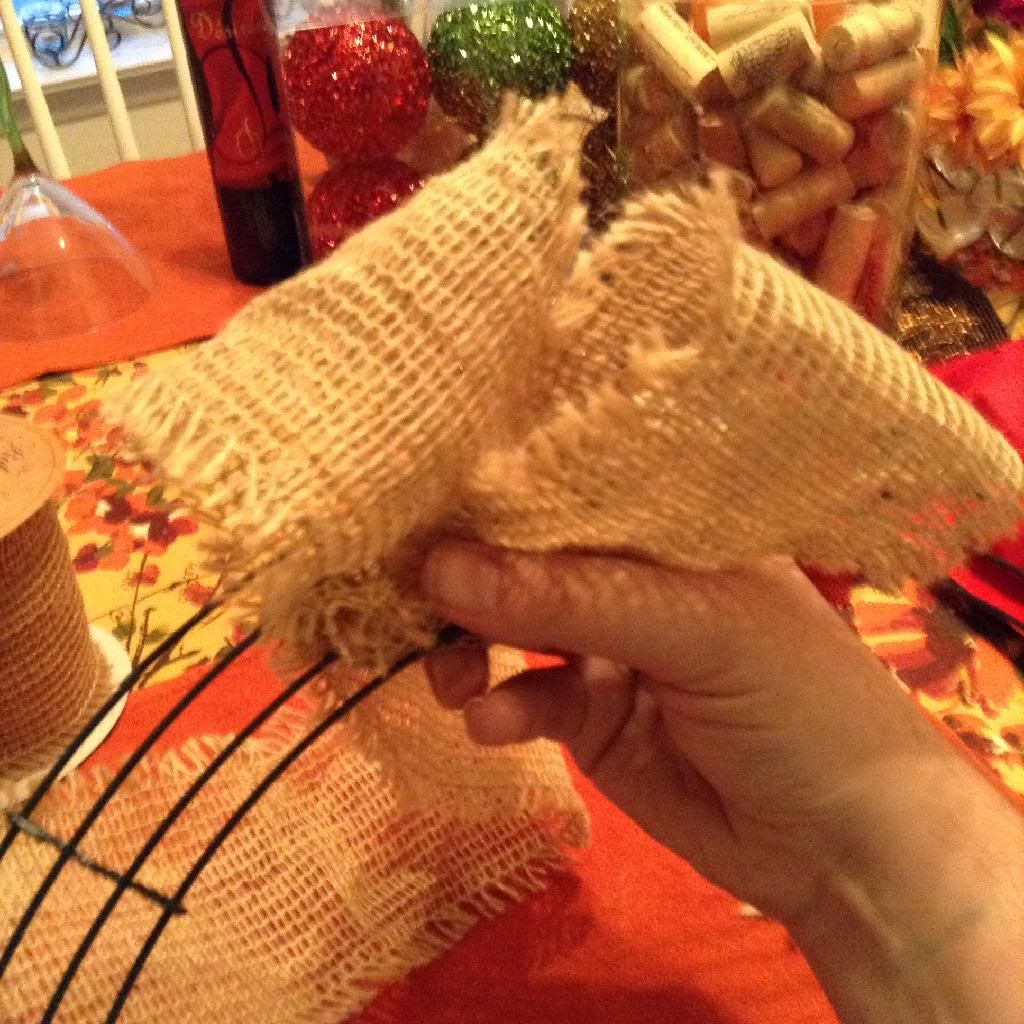
2.  Begin making the bubbles/loops by pulling the burlap up and through the wire.  Pull up to the height/size you'd like for the loop.  I used a variety of sizes in my wreath.  Once the loop is pulled through, slide the loop up with your thumb and forefinger to hold the loop in place.  To make the another loop, simply pull more burlap through the next wire row and slide it up to meet the other bubble/loop.


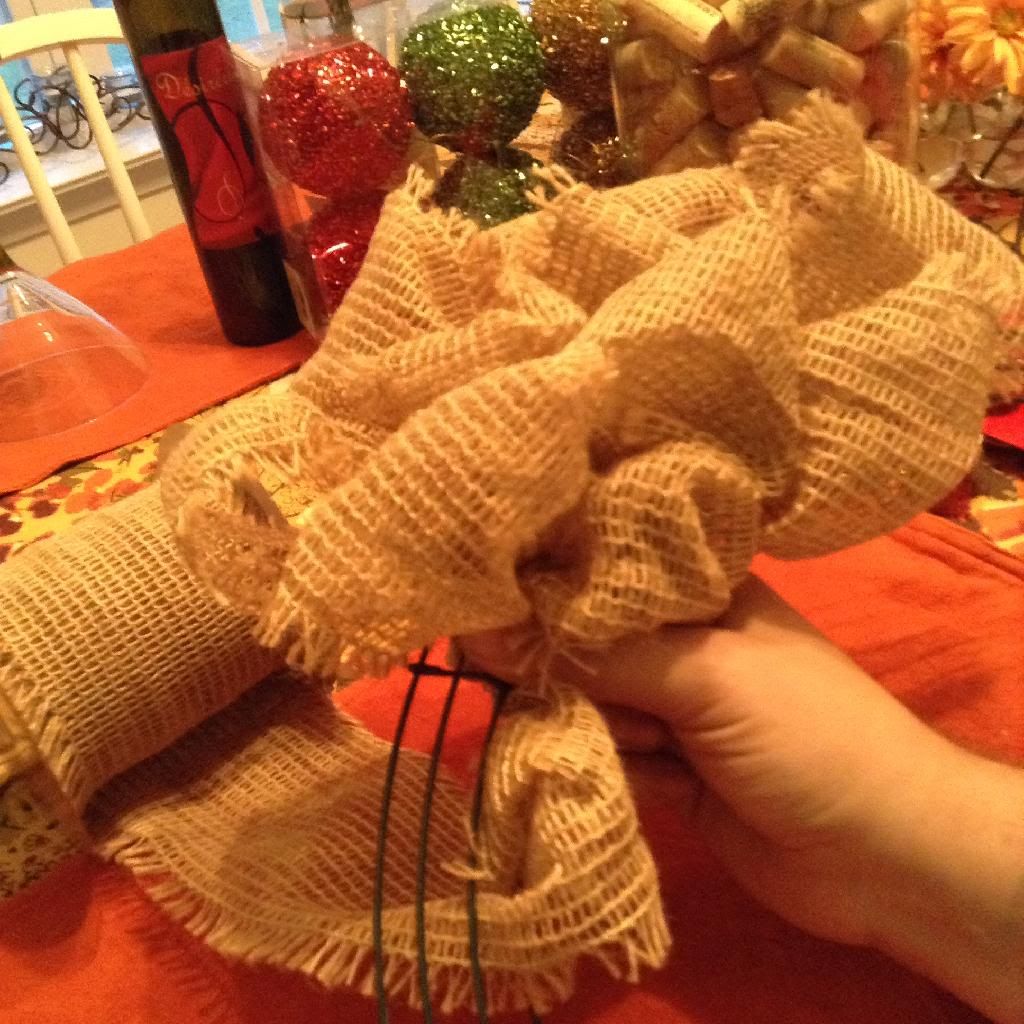
3.  To finish the wreath, continue pulling burlap through the wreath, adjusting loop size and sliding up with your thumb and forefinger.  It will begin to look like this:


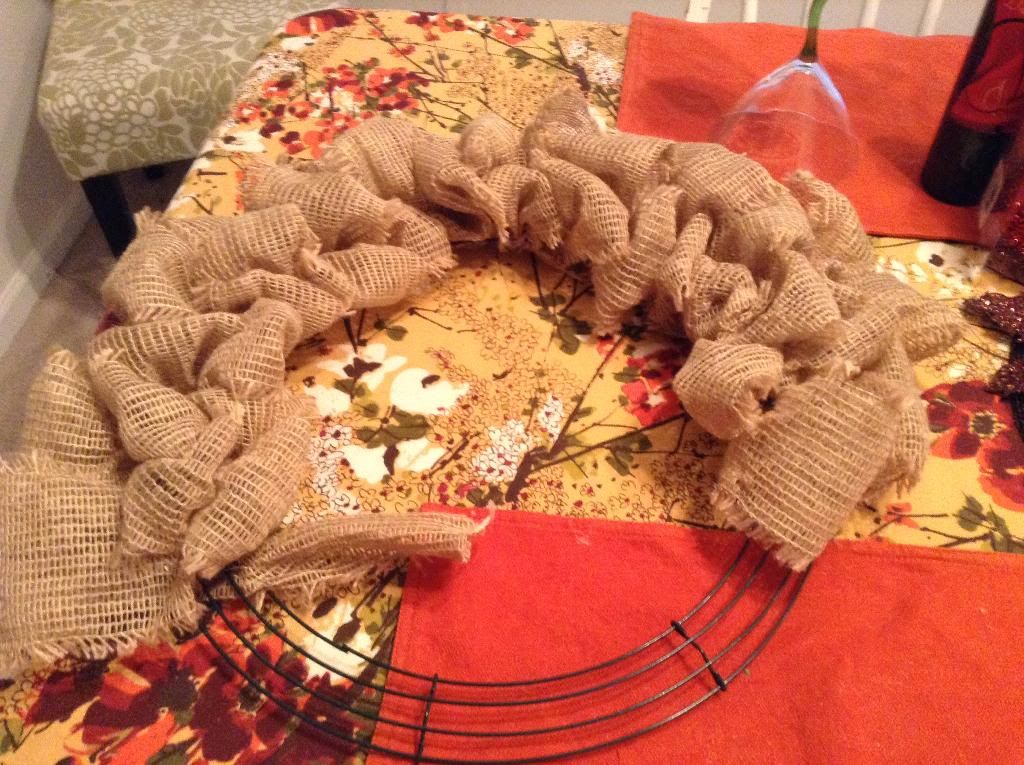
4.  Depending on the size of your wreath form and the size of your bubbles/loops, you may run out of your first burlap roll.  This is what happened to me.  I simply tied another knot to the wreath form (as in step 1) and continued the wreath.  When it was done, I attached my bow (it already had twist ties on the back!) and hung it on my door!


Now I'm all ready for Christmas decorating...time for the pumpkins and fall table cloth to go!  I hope you enjoyed this tutorial and you stop back again soon!

~Amanda


Friday, November 22, 2013

A Socratic Seminar Success

As we wrapped up our study of The Hunger Games, my sophomore team agreed to conclude the unit with a socratic seminar.  I had done a quick version of it during our poetry unit last April, but with the team's help, we crafted a truly unique, challenging, and rewarding experience for the students.

The original seminar was inspired by Esther Wu's seminar "The N-Word" on Teaching Channel.  Take a look below to be inspired yourself!

I love using Teaching Channels videos to inspire my own teaching!  I never would have thought to use a list of transitions as Esther did.  We used, tweaked, and modified her resources, and our version can be found here:

Socratic Seminar:  The Hunger Games
The Seminar Packet
The Coaching Protocol
The Listening Roles

Holding your own Socratic Seminar!
Plan two periods to prep the students, two days to conduct the seminar, and one half-period for reflection.
 photo 903C96D1-61B4-4D44-BB2D-8CAC1DD54985.jpg
The speakers are seated at a central table while coaches sit behind their protege.   One student is at the front of the room taking notes in the Big Board role (as developed by Esther Wu).
On the prep days, we focused on teaching transitions and building an arsenal of textual evidence for the questions that students felt passionate about.  We took our time going through each of the questions so that the students could highlight the 3-4 that they wanted to tackle right out of the gates on their day for the seminar.

On the days of the seminar, the students were broken into two groups:  SPEAKER & LISTENER.  On the first day, they did one role, and on the second, they switched.

Students sit in the back of the room in their Evaluator roles (transition tracker, comment counter, general evaluator, etc.)  I sat next to them taking notes and grading the discussion.
On the day following the last seminar, be sure to provide time for reflection.  This day was so rich for my students!  I asked them four simple reflection questions, had them answer at their desks, and then we created a graffiti wall of responses, memories, shout-outs, and highlights from the socratic seminar experience.


Wednesday, November 13, 2013

Preparing for LTAB 2014

Today we had our first LTAB meeting for the 2014 season.  This is one of my favorite days of the year - it's when the returning poets reminice with us about the good times, and the newbies start to have their curiosity piqued.  We watch videos, and more videos, and talk about what makes great spoken word poetry.  For those of you who haven't heard of LTAB (Louder Than a Bomb), here is a quick history from the YCA (youngchicagoauthors.org) website:

Louder Than A Bomb (LTAB) was founded in 2001, by Kevin Coval (YCA Artistic Director) and Anna West. LTAB is the largest youth poetry festival in the world, featuring over 100 zip codes within the Chicago-land area.
LTAB was created to give youth around the city of Chicago a platform to share their stories. The festival has since become a “bridge” for young people from many different backgrounds to come together and find a common ground through their narratives.

 We are part of this movement, and eternally grateful for the opportunity to participate.  In an educational landscape of standardized testing, it's so critical for me to have this outlet for my kiddos.  I will believe, until my dying teacher's breath, that creativity is the highest form of intelligence - the one thing that we've decided is not worth a "standard",worth measuring, worth teaching.  I have the opportunity through Louder Than a Bomb to write and revise and perform some truly creative works of art.  Not only do we get to write hard, but the kids have the genuine opportunity to meet and interact with kids from all over the city.

Tryouts are the week after Thanksgiving.  Tara and I are really looking forward to hearing the pieces from our students!  For now, I'll leave you with a quiet, subtle piece from last year's team.  This is Shannon and her piece is called "We Are the Ivy":

Sunday, November 10, 2013

The 2nd Annual Cordes Wine Tasting Party!

This post is coming to you from sleepy eyes of a day-after party hostess.

And no, I'm actually not hungover!  Not quite sure how that one happened...

When I woke up this morning, I cringed at the though of having to get back to business and get planned and graded for this upcoming week at school, but I was so glad that we (my roommate and I) spent as much time as we did this weekend preparing and hosting our party.  All too often, a weekend can completely disappear underneath bottomless stacks of papers and mindless games of Candy Crush to avoid that bottomless stack of papers.  It was good to plan, to cook, and to share a ruckus of an evening with some wonderful friends and family.

Below, I'd like to share with you our wine tasting party menu and some decor ideas.  Thanks for stopping by - and stop grading!  Start planning a party!


A Gathering of Friends:  The 2nd Annual Cordes Wine Tasting Party!

  1. The Invitations
    • We very simply crafted an evite that we could send to friends via email or via Facebook.  As much as I love crafting, handmade invitations were just not in the cards for this party.  Here's what we asked:

    • Happy fall, friends!
      After the success of last year's first annual wine tasting party, we are bringing the fun back to Apartment 526 for a second run! A fall-inspired menu will be served. Please bring a bottle of wine to share selecting from the types below. When you RSVP, please let us know what wine you plan to purchase so that the great experts hosting our party can do the appropriate research :-)

      We will need:
      REDS
      2 Bottles of Cabernet
      2 Bottles of Pinot Noir
      2 Bottles of Shiraz (or Syrah)
      2 Bottles of Merlot

      WHITES
      2 Bottles of Chardonay
      2 Bottles of Sauvignon blanc
      2 Bottles of Pinot Grigio
      2 Bottles of Riesling

  2. The Menu

Welcome to the 2nd Annual Fall Wine Tasting Party!


~TONIGHT’S MENU~

Inspired by a world of wine, today’s menu features a

global selection of tasty finger food.


PAIR with WHITE
_______________

French Raspberry Brie Puff
raspberry preserves   ●    brie cheese       puff pastry

Greek Salad Hummus
chickpeas   ●   olives     cucumber       red onion       feta

Guatemalan Shrimp Ceviche
shrimp  ●   tomato     jalapeno      lemon

TexMex Jalapeno Poppers
pastry   ●   cream cheese     jalapeno

Spinach Artichoke Dip
spinach  ●   artichokes     cheese


PAIR with RED
_______________

BBQ Cheddar Chicken Bacon Quesadilla
BBQ chicken   ●   cheddar      bacon

Argentine Chimichurri Chicken Quesadilla
herb chicken   ●   mozzarella     caramelized onion

Mexican Taquitos
beans   ●   beef     corn tortilla

Asian Meatballs
beef   ●   scallion     garlic      ginger

Reuben Egg Rolls
corned beef  ●   sauerkraut   swiss cheese     thousand island 


3. The Decor
I took all of my last minute inspiration from Pinterest. I also forgot to take pictures before the party, so here are some pics of what remained.


Some ideas can be found below:


Paper Pumpkins


Apple Votive Candles


Paper Bag flowers


Or check out my Pinterest board!


Friday, November 8, 2013

Taking the Common Core Challenge!


     Every week, I take time to catch up on the latest blogs and videos at Teaching Channel.  I'm at this
website more often than any other educational website for so many reasons, but mainly I love watching other teachers teach; it inspires me and motivates me to keep trying new lessons, better understand Common Core, and connect with other educators outside of my little bubble.

     When I logged in this week, I noticed that they were hosting a Common Core Challenge.  Naturally, I accepted.  I watched several videos of teachers in action, reinvented their strategies into my own new lesson, taught it, and now have the lesson to share with you!  I actually did this for an observation with my secondary evaluator and it went pretty well (a few technology glitches with polleverywhere.com, but that was okay).  So here you go, world!  This is how I took on Common Core Challenge 2013:

  1. Accept the challenge:  I registered here to officially accept the challenge
    (https://www.teachingchannel.org/challenge/steps)
  2. Watch the videos:  I watched Sarah's videos for "Meeting our Monsters" and Sayuri's "The Omnivore's Dilemma:  Close Reading of a Non-Fiction Text".  I don't think I followed the challenge exactly, but both videos inspired my lesson for the week as I somehow combined my favorite elements of each.  I needed to do a close reading activity, and I really liked the group think strategies that Sarah used.
  3. Write/Plan the lesson:  Using the CCSS Instructional Practice Guide, I crafted my lesson to use with The Hunger Games.  We did a close reading analyzing Katniss' complex characterization.  You can check out my lesson here and my handouts below:

    Dystopia KQL (my spin off of the KWL)

  4. Send feedback:  the final step in the challenge was to report back to Teaching Channel about how the Challenge went.  I send mine in today!  Overall, the lesson went really well.  I have the videos to thank for that.  There's something about watching another teacher in action that makes doing it yourself feel so much more successful.  The use of polleverywhere was a great success.  With the kiddos, it was a bit rough (they kept getting confused with which number to text, how to start the message, etc.) but they LOVED seeing their responses pop up on the screen in the front of the room.  The passages were also a really nice scaffold:   because they were long, every student could close read as much or as little as they could handle.  Then, when they turned and talked to each other, they were still able to have a shared text and help each other see it through the eyes of their annotations.
Check out the Common Core Challenge videos here: